Laravel Horizon
簡介
在開始深入了解 Laravel Horizon 前,請先熟悉一下 Laravel 中基本的 Queue 服務。Horizon 以 Laravel 的 Queue 為基礎,加上了很多新功能。如果你還不熟悉 Laravel 中基本的 Queue 功能,那麼可能會不太好理解 Horizon 的一些概念。
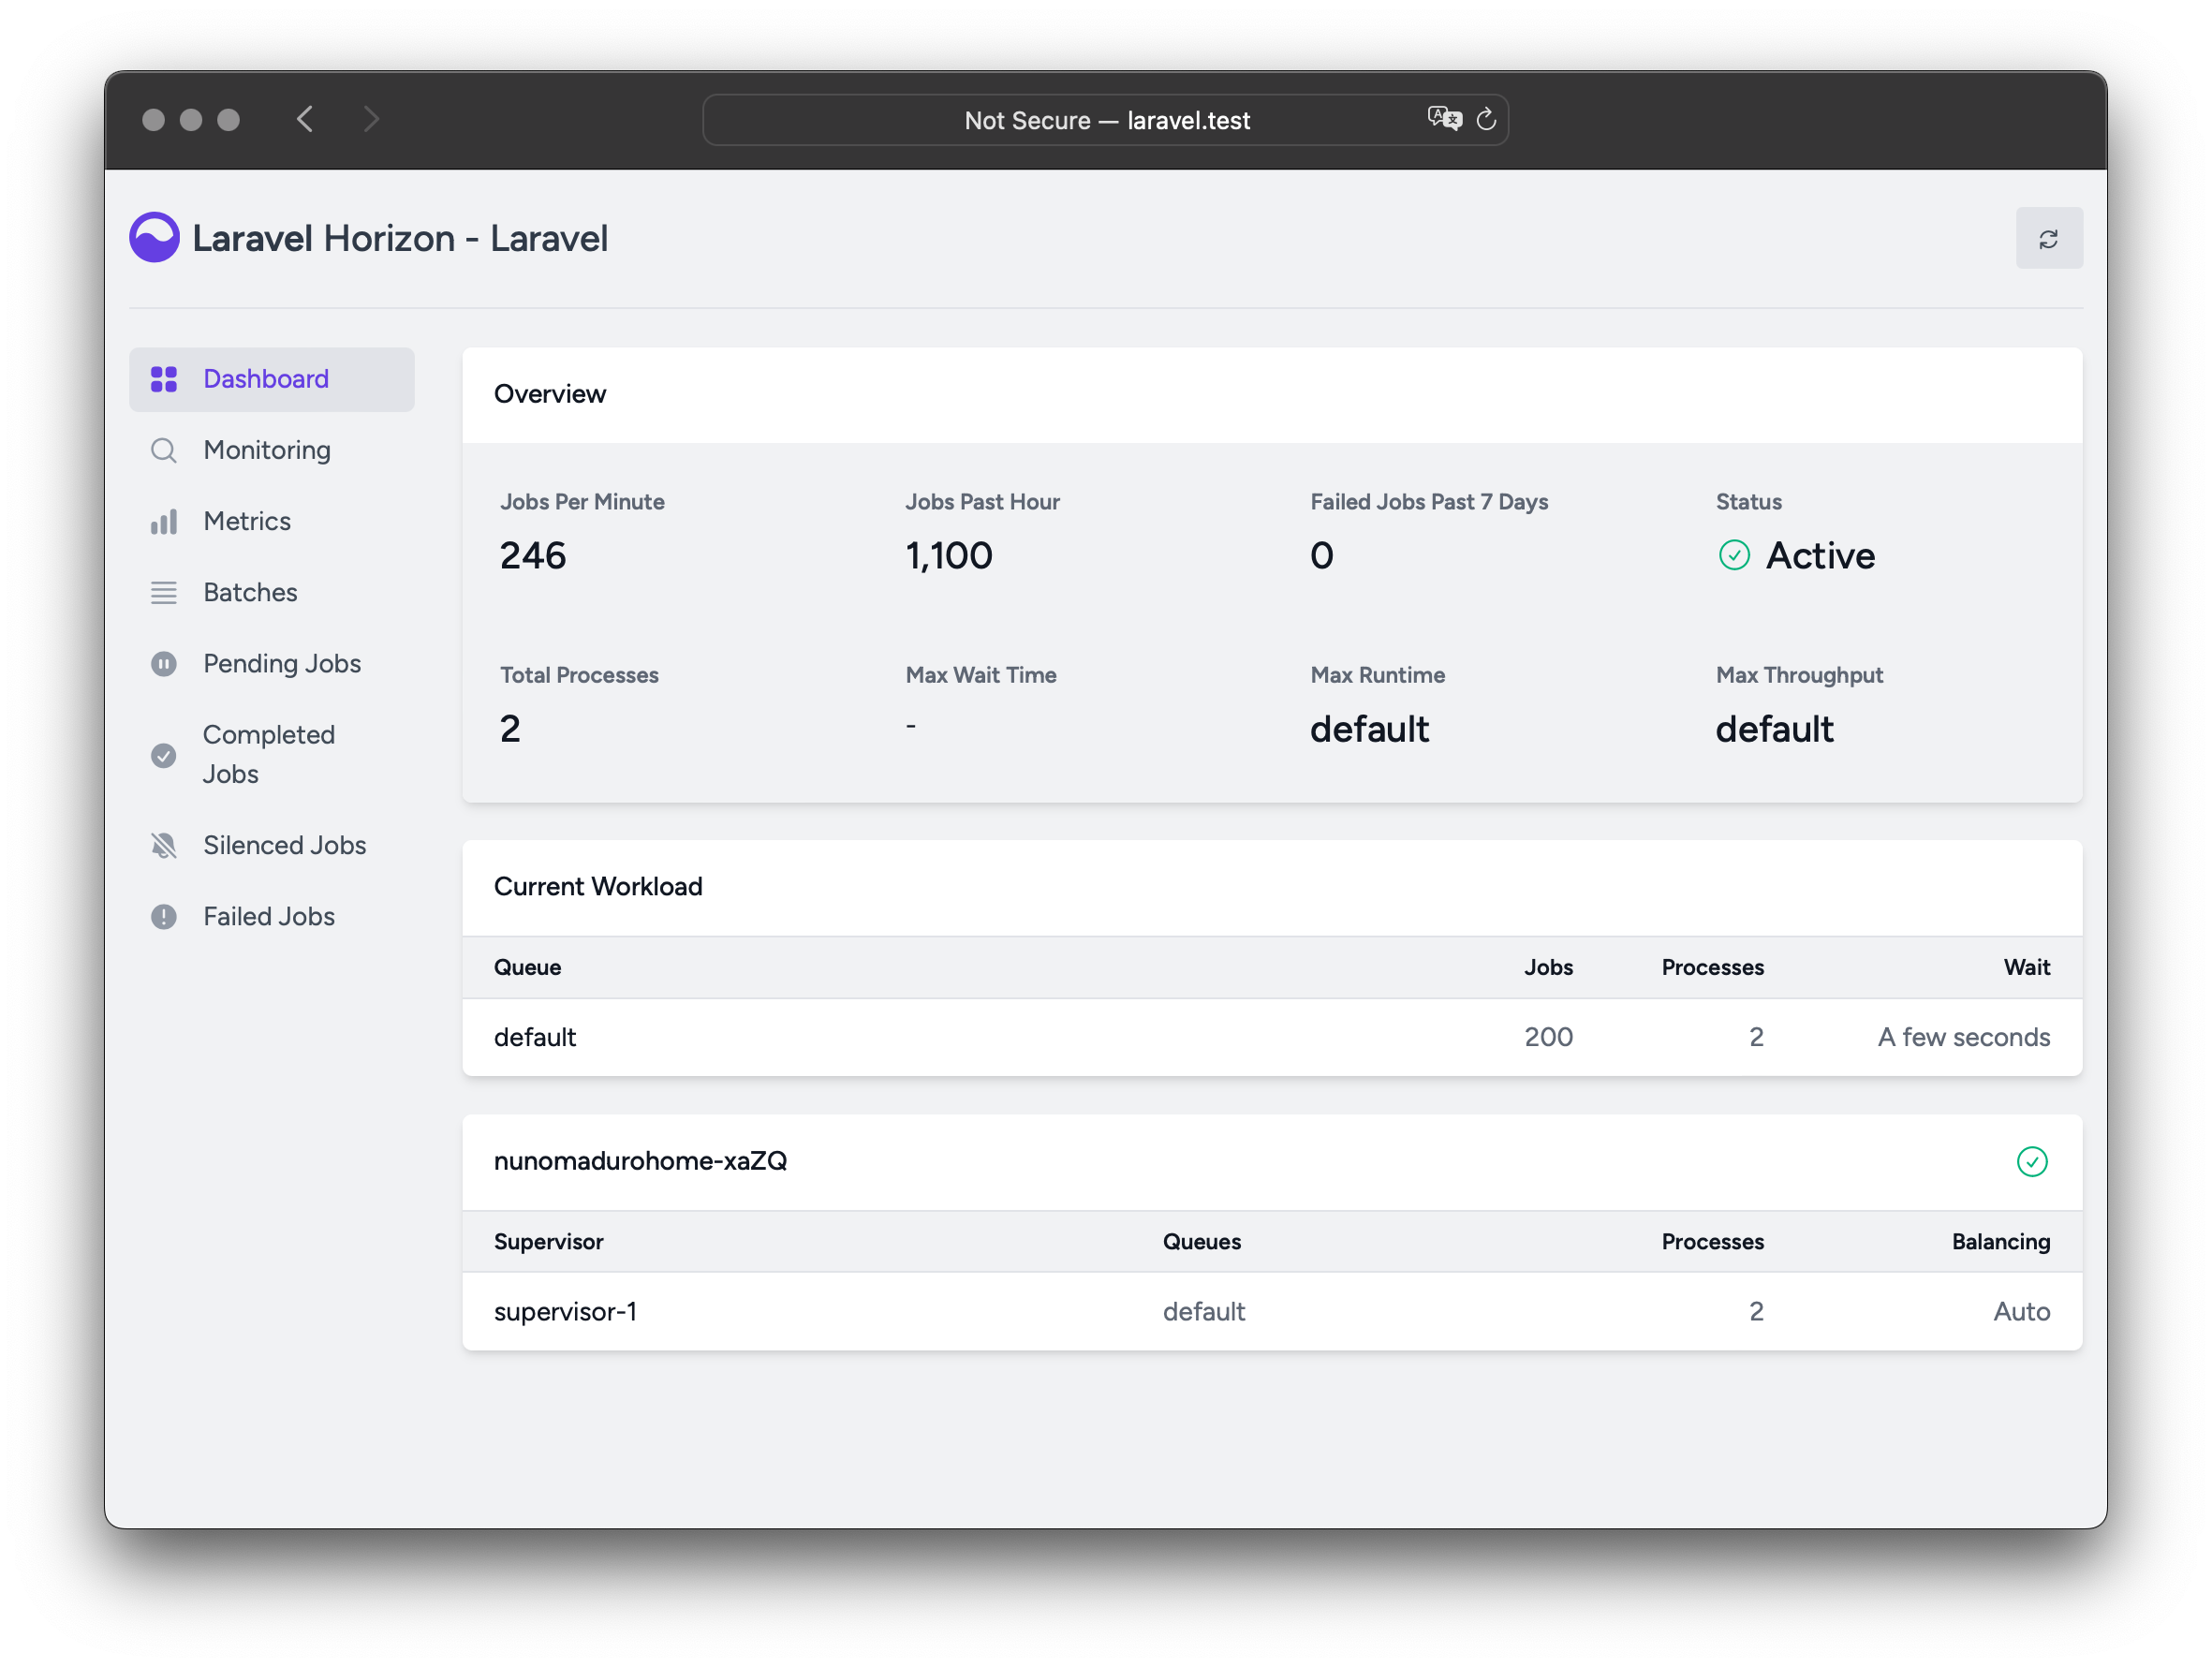
Laravel Horizon 提供了一個功能強大的主控台,並且可使用程式碼來調整 Laravel 驅動的 Redis Queue 的設定。使用 Horizon,就能輕鬆的監控佇列系統上的一些關鍵指標,如 Job 吞吐量、執行時間、失敗的 Job。
在使用 Horizon 時,所有 Queue Worker 的設定都保存在簡單且單一的一個設定檔中。只要把專案的 Worker 設定保存在版本控制的檔案中,就能輕鬆地在部署專案時擴增或調整 Queue Worker。
安裝
使用 Laravel Horizon 時必須使用 Redis 來驅動 Queue。因此,請確定有在專案的 config/queue.php
設定檔中將 Queue 連線設為 redis
。
可以使用 Composer 套件管理員來將 Horizon 安裝到專案中:
1composer require laravel/horizon
安裝好 Horizon 後,使用 horizon:install
Artisan 指令來安裝 Horizon 的素材:
1php artisan horizon:install
設定
安裝好 Horizon 的素材後,主要設定檔會被放到 config/horizon.php
。在這個設定檔中,我們可以調整 Queue Worker 的設定。每個設定選項都包含了有關該選項功能的說明,因此建議先仔細看過這個設定檔。
Horizon 會在內部使用到命名為 horizon
的 Redis 連線。這個 Redis 連線名稱為保留字,不可在 databade.php
設定檔中將該名稱指派給其他連線,或是在 horizon.php
設定檔中設為 use
選項的值。
環境
安裝好後,我們首先要熟悉的 Horizon 設定是 environments
選項。這個設定選項是一組環境的陣列,這些環境是專案會執行的。在這個選項中,要為各個環境定義 Worker 處理程序的設定。預設情況下,environments
選項中包含了 production
與 local
兩個環境。不過,可以按照需求任意加上更多的環境:
1'environments' => [2 'production' => [3 'supervisor-1' => [4 'maxProcesses' => 10,5 'balanceMaxShift' => 1,6 'balanceCooldown' => 3,7 ],8 ],910 'local' => [11 'supervisor-1' => [12 'maxProcesses' => 3,13 ],14 ],15],
啟動 Horizon 時,Horizon 會使用目前專案所執行的環境所對應的 Worker 設定。一般來說,會從 APP_ENV
環境變數中來判斷專案所在的環境。舉例來說,預設的 local
Horizon 環境已設定好啟動三個 Worker 處理程序,並且會自動為各個 Queue 負載平衡分配 Worker 處理程序的數量。預設的 production
環境設定好啟動 10 個 Worker,並自動負載平衡分配 Worker 數量給各個 Queue。
請確保 horizon
設定檔中的 environments
內有包含所有會執行 Horizon 的 環境。
Supervisor
在 Horizon 的預設設定檔中可以看到,每個環境都包含了一個或多個的「Supervisor」。預設情況下,這個設定檔中將其命名為 supervisor-1
。不過,可以自由依照需求更改其名稱。每個 Supervisor 基本上就是負責「監管 (Supervising)」一組 Worker 處理程序,並負責在 Queue 間協調 Worker 處理程序的負載平衡。
若想要定義在特定環境下執行的一組新 Worker 處理程序,則可以在該環境下新增額外的 Supervisor。如果想為專案中某個 Queue 定義一個不同的負載平衡策略或是不同數量的 Worker 處理程序,就可以新增 Supervisor 的設定。
Maintenance Mode
While your application is in maintainance mode, queued jobs will not be processed by Horizon unless the supervisor's force
option is defined as true
within the Horizon configuration file:
1'environments' => [2 'production' => [3 'supervisor-1' => [4 // ...5 'force' => true,6 ],7 ],8],
預設值
在 Horizon 的預設設定檔中,可以看到一個 defaults
選項。這個選項指定了專案的 Supervisor 預設值。這些 Supervisor 的預設設定值會被合併到每個環境中個別的 Supervisor 設定中,讓我們可以避免在個別設定中重複相同的定義。
平衡策略
Horizon 與 Laravel 預設的 Queue 系統不同,Horizon 能讓你選擇三種不同的平衡策略:simple
、auto
與 false
。simple
策略會將新進的 Job 平均分給各個 Worker 處理程序:
1'balance' => 'simple',
auto
策略則會根據目前 Queue 的負載來調整每個 Queue 的 Worker 處理程序數量,為設定檔的預設值。舉例來說,若 notifications
Queue 有 1,000 個待處理 Job,而 render
Queue 為空,則 Horizon 會分配更多的 Worker 給 notifications
Queue,直到該 Queue 為空。
使用 auto
策略時,可以定義一個 minProcesses
與 maxProcesses
設定選項來控制 Horizon 在規模調整時所能調整到的最大與最小 Worker 處理程序數量。
1'environments' => [2 'production' => [3 'supervisor-1' => [4 'connection' => 'redis',5 'queue' => ['default'],6 'balance' => 'auto',7 'autoScalingStrategy' => 'time',8 'minProcesses' => 1,9 'maxProcesses' => 10,10 'balanceMaxShift' => 1,11 'balanceCooldown' => 3,12 'tries' => 3,13 ],14 ],15],
autoScalingStrategy
設定值則會依據要清空 Queue 所所需的總時間 (time
策略) 或 Queue 中的總 Job 數量 (size
策略) 來判斷 Horizon 是否應指派多個 Worker Process 給 Queue。
balanceMaxShift
與 balanceCooldown
設定值可用來判斷 Horizon 在依照 Worker 需求進行規模調整時的速度。在上方的範例中,每 3 秒鐘最多只會建立或刪除一個處理程序。可以依照專案需求來自行調整這個值。
balance
選項設為 false
時,會使用 Laravel 預設的行為,即佇列會按照設定檔內列出的順序來處理。
主控台的權限控制
The Horizon dashboard may be accessed via the /horizon
route. By default, you will only be able to access this dashboard in the local
environment. However, within your app/Providers/HorizonServiceProvider.php
file, there is an authorization gate definition. This authorization gate controls access to Horizon in non-local environments. You are free to modify this gate as needed to restrict access to your Horizon installation:
1/**2 * Register the Horizon gate.3 *4 * This gate determines who can access Horizon in non-local environments.5 */6protected function gate(): void7{8 Gate::define('viewHorizon', function (User $user) {9 return in_array($user->email, [11 ]);12 });13}
其他認證方法
由於 Laravel 會自動將目前已登入的使用者插入到 Gate 閉包內,因此若你的專案要使用其他方法 (如使用 IP 等) 來對 Horizon 的存取進行檢查,則 Horizon 使用者可能就不需要先「登入」。因此,這種情況下需要將 function (User $user)
閉包的簽名更改為 function (User $user = null)
來強制 Laravel 不去要求登入。
靜音的 Job
有時候,我們可能不太需要檢視一些由我們的專案或第三方套件所分派的特定 Job。我們可以將這些 Job 靜音,這樣這些 Job 就不會佔用「Completed Jobs」清單的空間。若要靜音 Job,請將該 Job 的類別名稱加到專案 horizon
設定檔中的 silenced
設定選項中:
1'silenced' => [2 App\Jobs\ProcessPodcast::class,3],
或者,也可以讓要靜音的 Job 實作 Laravel\Horizon\Contracts\Silenced
介面。若有 Job 實作了這個介面,即使沒有將其加到 silenced
設定陣列中,該 Job 也會被自動靜音。
1use Laravel\Horizon\Contracts\Silenced;23class ProcessPodcast implements ShouldQueue, Silenced4{5 use Dispatchable, InteractsWithQueue, Queueable, SerializesModels;67 // ...8}
升級 Horizon
將 Horizon 升級到新的主要 (Major) 版本時,請務必仔細閱讀升級指南。此外,每次升級 Horizon 到新版本時,也請重新安裝 Horizon 的素材:
1php artisan horizon:publish
為了確保素材在最新版本並避免在未來的更新中造成問題,可以將 vendor:publish --tag=laravel-assets
指令加到 composer.json
檔中的 post-update-cmd
Script 中:
1{2 "scripts": {3 "post-update-cmd": [4 "@php artisan vendor:publish --tag=laravel-assets --ansi --force"5 ]6 }7}
執行 Horizon
在專案的 config/horizon.php
設定檔中設定好 Supervisor 與 Worker 後,就可以使用 horizon
Artisan 指令來啟動 Horizon。這一個指令會啟動所有目前環境中已設定的 Worker 處理程序:
1php artisan horizon
可以分別使用 horizon:pause
與 horizon:continue
來暫停或繼續處理 Horizon 的處理程序:
1php artisan horizon:pause23php artisan horizon:continue
可以使用 horizon:pause-supervisor
與 horizon:continue-supervisor
Artisan 指令來暫停或繼續特定的 Horizon Supervisor:
1php artisan horizon:pause-supervisor supervisor-123php artisan horizon:continue-supervisor supervisor-1
可以使用 horizon:status
Artisan 指令來檢查目前 Horizon 處理程序的狀態:
1php artisan horizon:status
可以使用 horizon:terminate
Artisan 指令來正常終止 Horizon 處理程序。Horizon 會先完成目前正在處理的 Job,然後再停止執行:
1php artisan horizon:terminate
部署 Horizon
當要將 Horizon 部署到實際執行專案的伺服器時,請設定一個處理程序監控程式 (Process Monitor) 來監控 php artisan horizon
指令,並在該指令異常終止時重新啟動該指令。別擔心,我們會在下方討論如何安裝處理程序監控程式。
在專案的部署過程中,需要告訴 Horizon 處理程序先停止執行,好讓處理程序監控程式可以重新啟動 Horizon,以反應出程式碼上的更改:
1php artisan horizon:terminate
安裝 Supervisor
Supervisor 是一個用於 Linux 作業系統的處理程序監控程式。Supervisor 可以在 horizon
處理程序停止執行的時候自動重啟啟動 horizon
。若要在 Ubuntu 上安裝 Supervisor,可以使用下列指令。若你不是用 Ubuntu,則通常也可以使用作業系統的套件管理員來安裝:
1sudo apt-get install supervisor
如果你覺得要設定 Supervisor 太難、太複雜的話,可以考慮使用 Laravel Forge。Laravel Forge 會自動幫你為 Laravel 專案安裝並設定 Supervisor。
Supervisor 設定
Supervisor 設定檔一般都存放伺服器的 /etc/supervisor/conf.d
目錄下。在該目錄中,我們可以建立任意數量的設定檔,以告訴 Supervisor 要如何監看這些處理程序。舉例來說,我們先建立一個用於啟動並監看 horizon
處理程序的 horizon.conf
檔案:
1[program:horizon]2process_name=%(program_name)s3command=php /home/forge/example.com/artisan horizon4autostart=true5autorestart=true6user=forge7redirect_stderr=true8stdout_logfile=/home/forge/example.com/horizon.log9stopwaitsecs=3600
在定義 Supervisor 設定檔時,請確保 stopwaitsecs
值比花費時間最多的 Job 所需執行的秒數還要大。若該值設定不對,可能會讓 Supervisor 在 Job 處理完成前就終止該 Job。
雖然上方的範例適用於基於 Ubuntu 的伺服器,但在不同的作業系統中,Supervisor 設定檔的位置與檔案的副檔名可能有所不同。更多資訊請參考你使用的伺服器之說明文件。
啟動 Supervisor
建立好設定檔後,可使用下列指令來更新 Supervisor 的設定檔並開始監看這些處理程序:
1sudo supervisorctl reread23sudo supervisorctl update45sudo supervisorctl start horizon
更多有關執行 Supervisor 的資訊,請參考 Supervisor 的說明文件。
標籤
在 Horizon 中,我們可以給 Job 加上「標籤」。這些可加上標籤的 Job 包含 Mailable、Broadcast、Event、Notification、以及放入佇列的 Event Listener。事實上,Horizon 會依據 Job 上附加的 Eloquent Model 來自動為大多數的 Job 加上標籤。舉例來說,看看下面的例子:
1<?php23namespace App\Jobs;45use App\Models\Video;6use Illuminate\Bus\Queueable;7use Illuminate\Contracts\Queue\ShouldQueue;8use Illuminate\Foundation\Bus\Dispatchable;9use Illuminate\Queue\InteractsWithQueue;10use Illuminate\Queue\SerializesModels;1112class RenderVideo implements ShouldQueue13{14 use Dispatchable, InteractsWithQueue, Queueable, SerializesModels;1516 /**17 * Create a new job instance.18 */19 public function __construct(20 public Video $video,21 ) {}2223 /**24 * Execute the job.25 */26 public function handle(): void27 {28 // ...29 }30}
如果放入佇列的 Job 包含 id
屬性為 1
的 App\Models\Video
實體,這個 Job 就會自動獲得 App\Models\Video:1
的標籤。這是因為 Horizon 會掃描 Job 的屬性,尋找是否有 Eloquent Model。如果找到了 Eloquent Model,Horizon 就會智慧式地使用 Model 的類別名稱和主索引鍵來為 Job 加上標籤:
1use App\Jobs\RenderVideo;2use App\Models\Video;34$video = Video::find(1);56RenderVideo::dispatch($video);
手動為 Job 加上標籤
如果你想要手動定義為放入佇列的物件加上標籤,可以在類別中定義一個 tags
方法:
1class RenderVideo implements ShouldQueue2{3 /**4 * Get the tags that should be assigned to the job.5 *6 * @return array<int, string>7 */8 public function tags(): array9 {10 return ['render', 'video:'.$this->video->id];11 }12}
Manually Tagging Event Listeners
When retrieving the tags for a queued event listener, Horizon will automatically pass the event instance to the tags
method, allowing you to add event data to the tags:
1class SendRenderNotifications implements ShouldQueue2{3 /**4 * Get the tags that should be assigned to the listener.5 *6 * @return array<int, string>7 */8 public function tags(VideoRendered $event): array9 {10 return ['video:'.$event->video->id];11 }12}
通知
要為 Horizon 設定傳送 Slack 或 SMS 通知時,請先檢視相關通知 Channel 的前置需求。
如果希望在當某個佇列等待時間過長時收到通知,可以使用 Horizon::routeMailNotificationsTo
、Horizon::routeSlackNotificationsTo
和 Horizon::routeSmsNotificationsTo
方法。你可以在專案的 App\Providers\HorizonServiceProvider
中 boot
方法內呼叫這些方法:
1/**2 * Bootstrap any application services.3 */4public function boot(): void5{6 parent::boot();78 Horizon::routeSmsNotificationsTo('15556667777');10 Horizon::routeSlackNotificationsTo('slack-webhook-url', '#channel');11}
設定通知等待時間的臨界值
你可以在專案的 config/horizon.php
設定檔中設定幾秒的長度要被視為「等待時間過長」。使用這個設定檔中的 waits
設定選項,就可以讓你控制每個連線 / 佇列的組合設定等待時間過長臨界值。未定義的連線 / 佇列組合的等待時間臨界值預設為 60 秒:
1'waits' => [2 'redis:critical' => 30,3 'redis:default' => 60,4 'redis:batch' => 120,5],
指標
Horizon includes a metrics dashboard which provides information regarding your job and queue wait times and throughput. In order to populate this dashboard, you should configure Horizon's snapshot
Artisan command to run every five minutes in your application's routes/console.php
file:
1use Illuminate\Support\Facades\Schedule;23Schedule::command('horizon:snapshot')->everyFiveMinutes();
刪除失敗的 Job
如果要刪除失敗的 Job,可以使用 horizon:forget
指令。這個指令只有一個參數,為失敗 Job 的 ID 或 UUID:
1php artisan horizon:forget 5
清空佇列中的 Job
如果要清空專案預設佇列中的所有 Job,可使用 horizon:clear
Artisan 指令:
1php artisan horizon:clear
也可以使用 queue
選項來刪除指定佇列中的 Job:
1php artisan horizon:clear --queue=emails