日誌
簡介
為了協助你瞭解程式中發生的大小事,Laravel 提供了強健的日誌服務,能讓你將訊息紀錄到檔案、系統錯誤日誌、甚至是紀錄到 Slack 中來通知整個團隊。
Laravel 的 Log 紀錄是基於「通道」的。每個通道都代表了一種寫入日誌資訊的特定方法。舉例來說,single 通道將日誌寫進單一日誌檔中,而 slack 通道則將日誌訊息傳送到 Slack。也可以依據日誌的嚴重性來將日誌訊息寫到多個通道。
在 Laravel 內部,我們使用了 Monolog 函式庫。Monolog 提供了多種強大的日誌處理程式。Laravel 還讓我們能輕鬆地設定這些 Monolog 的日誌處理程式,可以混合使用不同處理程式來為我們的程式處理日誌。
設定
All of the configuration options that control your application's logging behavior are housed in the config/logging.php configuration file. This file allows you to configure your application's log channels, so be sure to review each of the available channels and their options. We'll review a few common options below.
預設情況下,Laravel 會使用 stack 通道來紀錄日誌訊息。stack 通道可用來將多個日誌通道彙總到單一通道內。有關建立 Stack 的詳細資訊,請參考下方的說明文件。
可用的通道 Driver
每個日誌通道都以一個「Driver」驅動。Driver 會判斷要如何紀錄日誌訊息、以及要將日誌訊息紀錄到哪裡。在所有的 Laravel 應用程式中都可使用下列日誌通道 Driver。在你專案中的 config/logging.php 設定檔內已經預先填好下表中大部分的 Driver,因此我們建議你可瞭解一下這個檔案以熟悉其內容:
Configuring the Channel Name
By default, Monolog is instantiated with a "channel name" that matches the current environment, such as production or local. To change this value, you may add a name option to your channel's configuration:
通道的前置需求
Configuring the Single and Daily Channels
single (單一) 與 daily (每日) 通道有三個可選的設定選項:bubble、permission、locking。
Configuring the Papertrail Channel
The papertrail channel requires host and port configuration options. These may be defined via the LOG_PAPERTRAIL_URL and LOG_PAPERTRAIL_PORT environment variables. You can obtain these values from Papertrail.
Configuring the Slack Channel
The slack channel requires a url configuration option. This value may be defined via the LOG_SLACK_WEBHOOK_URL environment variable. This URL should match a URL for an incoming webhook that you have configured for your Slack team.
By default, Slack will only receive logs at the critical level and above; however, you can adjust this using the LOG_LEVEL environment variable or by modifying the level configuration option within your Slack log channel's configuration array.
紀錄 Deprecation Warning
PHP, Laravel, and other libraries often notify their users that some of their features have been deprecated and will be removed in a future version. If you would like to log these deprecation warnings, you may specify your preferred deprecations log channel using the LOG_DEPRECATIONS_CHANNEL environment variable, or within your application's config/logging.php configuration file:
或者,也可以定義一個名為 deprecations 的日誌通道。若有該名稱的通道,Laravel 會使用該通道來紀錄 Deprecation 日誌:
建立日誌 Stack
剛才也提到過,stack Driver 能讓我們將多個通道組合為單一日誌通道來更方便地使用。為了說明如何使用日誌的 Stack,我們先來看看下面這個可能出現在正式專案中的範例設定檔:
讓我們來逐步分析這個設定檔。首先,可以注意到 stack 通道使用 channels 選項來彙總了另外兩個通道:syslog 與 slack。所以,在紀錄日誌訊息時,這兩個頻道都可能會去紀錄該訊息。不過,我們稍後會看到,實際上這兩個通道會依照訊息的嚴重程度 (「等級」) 來判斷是否要紀錄訊息。
日誌的等級
來看看上述範例中 syslog 與 slack 通道設定中的 level 設定。這個選項用來判斷該通道所要紀錄的最小訊息「等級」。Monolog —— 負責提供 Laravel Log 服務的函式庫 —— 提供了所有在 RFC 5424 規格中定義的所有日誌等級。這些 Log 等級按照嚴重程度由重到輕排序分別為:emergency, alert, critical, error, warning, notice, info, 與 debug。
所以,假設我們使用 debug 方法來紀錄訊息:
在我們的設定檔中,syslog 通道會將該訊息寫到系統日誌中。不過,因為這個訊息不是 critical 或以上的等級,因此這個訊息不會被傳送到 Slack。不過,若我們紀錄 emergency 等級的訊息,則該訊息就會被送到系統日誌與 Slack 兩個地方,因為 emergency 等級大於我們為這兩個通道設定的最小等級門檻:
寫入日誌訊息
可以使用 Log [Facade] 來將訊息寫入到日誌中。剛才也提到過,日誌程式提供了八個等級,這八個等級定義在 RFC 5424 規格中:emergency, alert, critical, error, warning, notice, info 與 debug。
可以呼叫這些方法來以對應等級紀錄訊息。預設情況下,這些訊息會被寫入到 logging 設定檔中預設的日誌通道中。
有上下文的資訊
可以傳入一組包含上下文資料的陣列給日誌方法。這些上下文資料會被格式化並與日誌訊息一起顯示:
有時候,我們可能會希望在特定通道上,應在接下來的日誌項目中包含一些上下文資訊。舉例來說,我們紀錄能關聯上連入 Request 的 Request ID。為此,可呼叫 Log Facade 的 withContext 方法:
If you would like to share contextual information across all logging channels, you may invoke the Log::shareContext() method. This method will provide the contextual information to all created channels and any channels that are created subsequently:
If you need to share log context while processing queued jobs, you may utilize job middleware.
Writing to Specific Channels
有時候,我們可能會想將訊息寫到預設通道以外的其他通道。可以使用 Log Facade 上的 channel 方法來取得並紀錄到設定檔中定義的任何通道:
若想視需要建立由多個通道組合成的日誌 Stack,可使用 stack 方法:
視需要建立的通道
也可以在不寫入設定檔的情況下在執行階段視需要建立通道。要建立視需要時建立的通道,請傳入一個設定用陣列給 Log Facade 的 build 方法:
也可以在視需要建立的日誌 Stack 中包含一個視需要建立的通道。只要在傳給 stack 方法的陣列中包含一個視需要建立的通道實體即可:
自訂 Monolog 通道
Customizing Monolog for Channels
有時候我們會因為現有通道而需要完整控制 Monolog 的設定方式。舉例來說,我們可能需要為 Laravel 的內建 single 通道設定自訂的 Monolog FormatterInterface 實作。
要開始自訂 Monolog,請在通道設定中定義一個 tap 陣列。tap 陣列中應包含一組要用來在 Monolog 實體建立完畢後自訂 (或「監聽」進) Monologo 實體的類別。對於要將這些類別放在哪裡,Laravel 並沒有相關規範。因此,我們可以隨意在專案內建立目錄來放置這些類別:
在通道上設定好 tap 選項後,就可以開始定義用來自訂 Monolog 實體的類別了。這個類別只需要有一個方法即可:__invoke。該方法會收到 Illuminate\Log\Logger 實體,該實體會將所有的方法呼叫代理到底層的 Monolog 實體:
所有的「Tap」類別都會由 Service Container 解析,所以在 Constructor 中要求的相依性都會自動被插入。
建立 Monolog Handler 通道
Monolog has a variety of available handlers and Laravel does not include a built-in channel for each one. In some cases, you may wish to create a custom channel that is merely an instance of a specific Monolog handler that does not have a corresponding Laravel log driver. These channels can be easily created using the monolog driver.
使用 monolog Driver 時,handler 設定選項可用來指定要初始化哪個 Handler。然後,也可以選擇性地使用 with 設定選項來指定該 Handler 的 Constructor 所需要的參數:
Monolog 格式
使用 monolog Driver 時,會使用 Monolog 的 LineFormatter 來作為預設的格式化工具。不過,我們也可以使用 formatter 與 formatter_with 設定選項來自訂要傳給該 Handler 的格式化工具:
若使用的 Monolog Handler 本身就有提供格式化工具,則可以將 formatter 設定選項設為 default:
Monolog Processor
Monolog 也可以在訊息被寫入 Log 前先處理訊息。你可以自行建立 Processor,或是使用 Monolog 提供的現有 Processor。
若想為 monolog Driver 自定 Processor,請在 Channel 的設定中新增 processors 設定值:
Creating Custom Channels via Factories
若想定義整個自訂通道來完整控制 Monolog 的初始化與設定,則可在 config/logging.php 設定檔中使用 custom Driver。設定中應包含一個 via 選項來包含建立 Monolog 實體時要叫用的 Factory 類別名稱:
設定好 custom Driver 通道後,就可以開始定義用來建立 Monolog 實體的類別了。這個類別只需要有一個 __invoke 方法就好了,該方法應回傳 Monolog Logger的實體。__invoke 方法會收到一個引數,即為該通道的設定陣列:
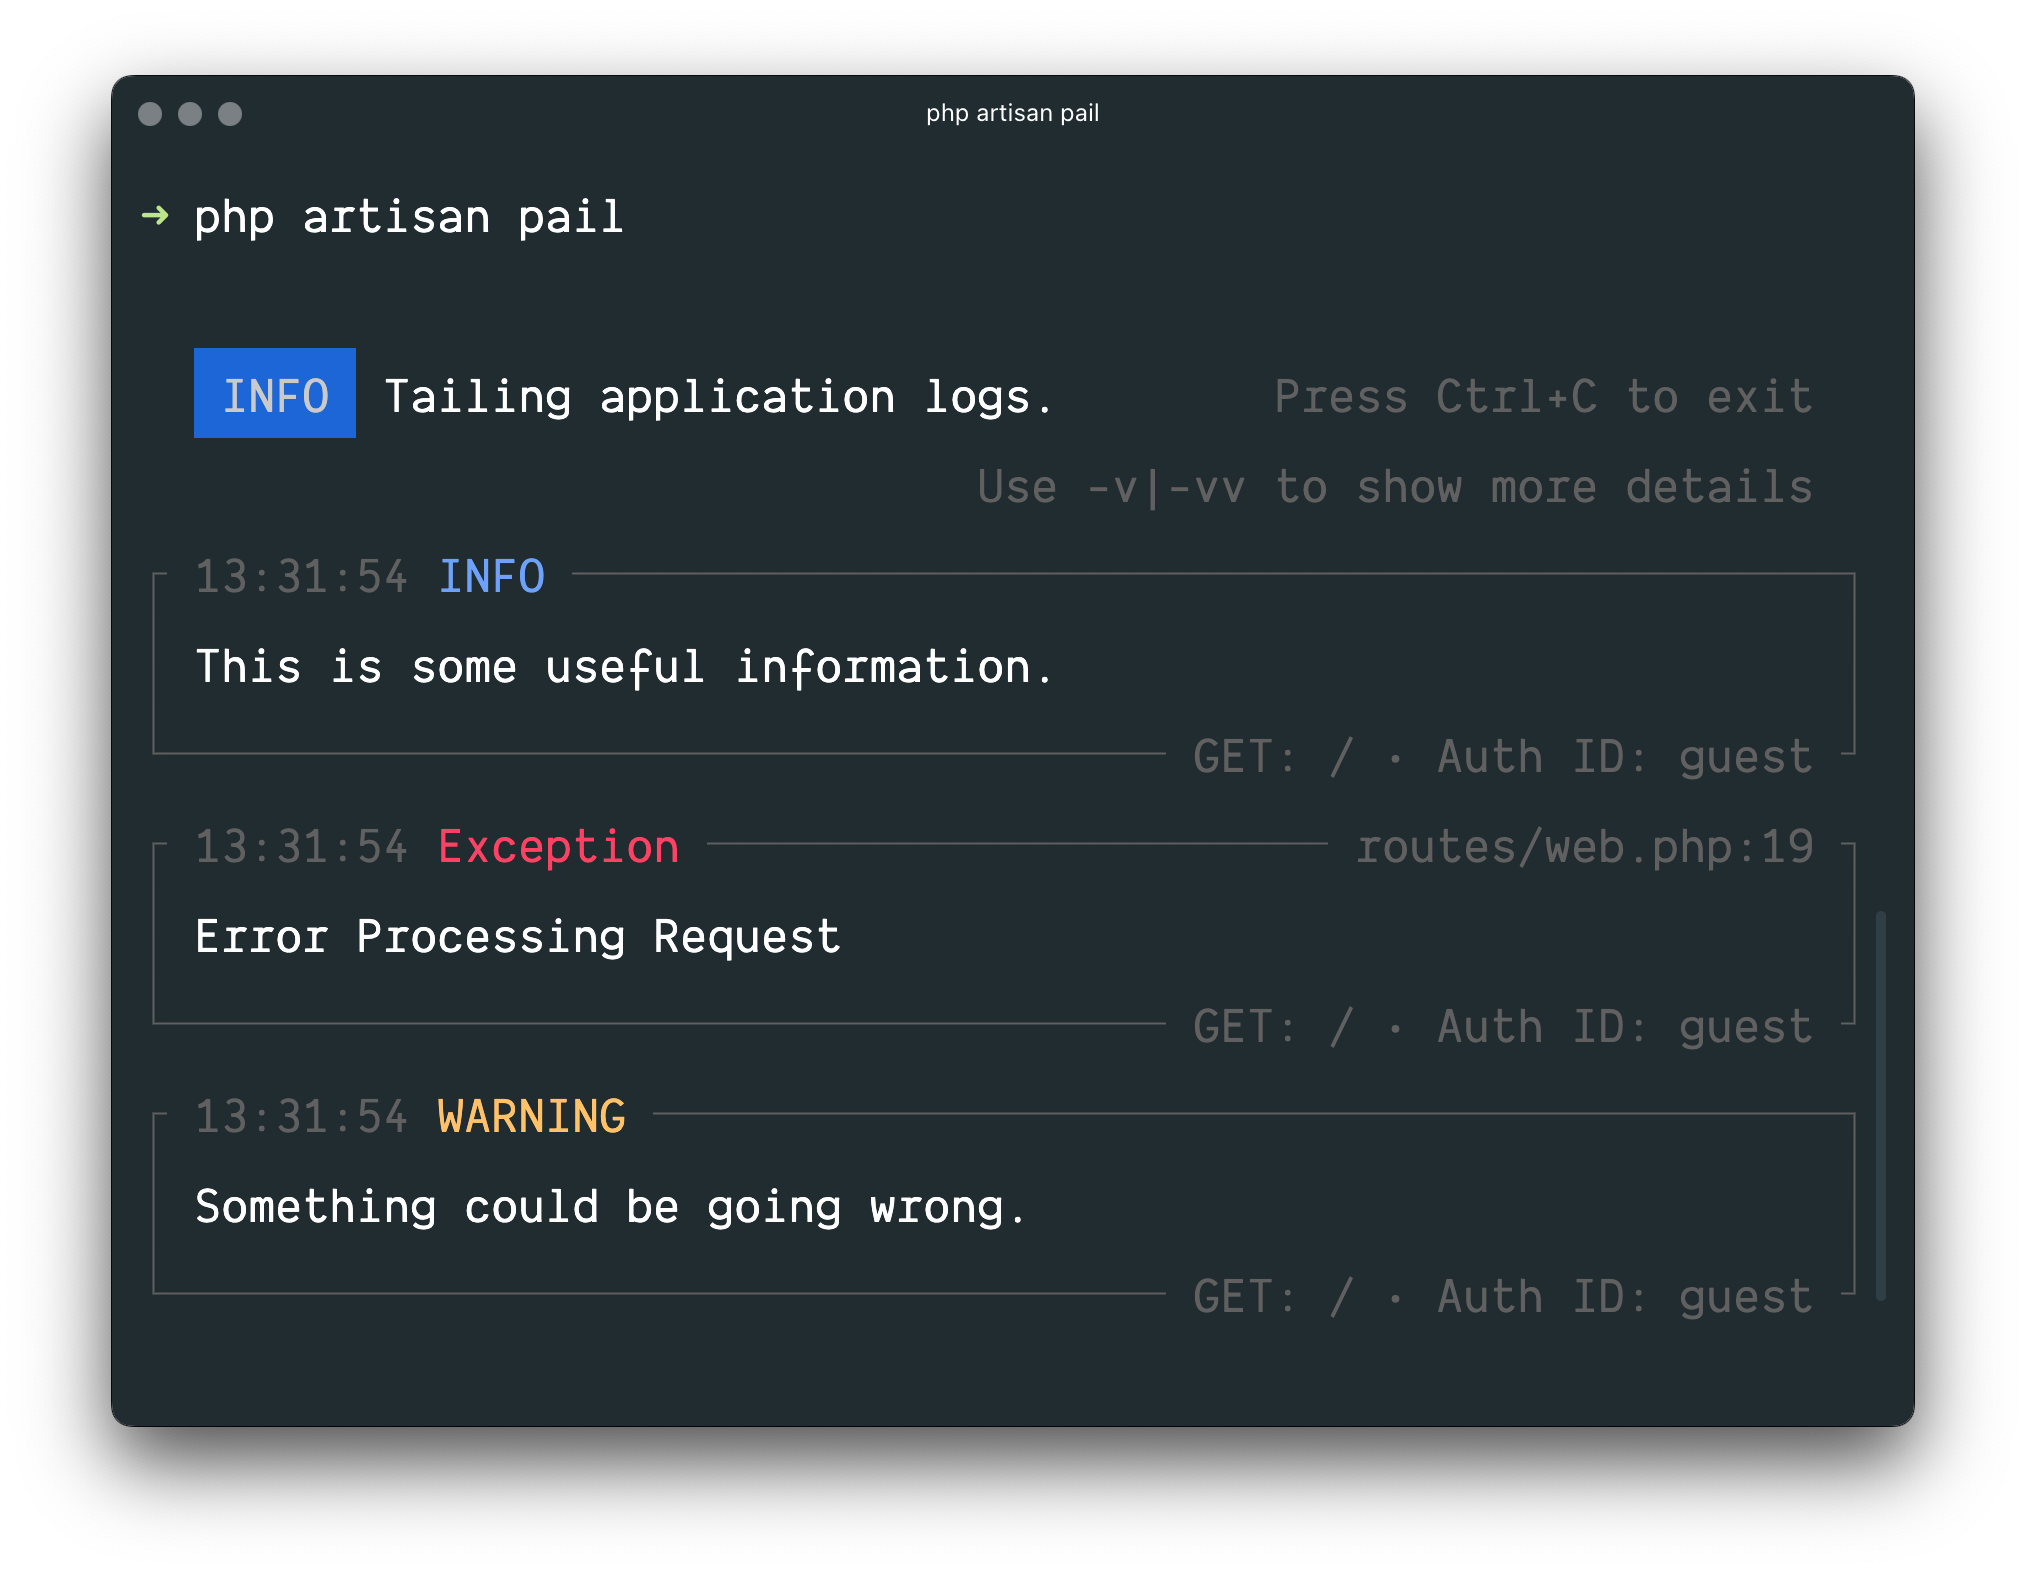
Tailing Log Messages Using Pail
Often you may need to tail your application's logs in real time. For example, when debugging an issue or when monitoring your application's logs for specific types of errors.
Laravel Pail is a package that allows you to easily dive into your Laravel application's log files directly from the command line. Unlike the standard tail command, Pail is designed to work with any log driver, including Sentry or Flare. In addition, Pail provides a set of useful filters to help you quickly find what you're looking for.

Installation
To get started, install Pail into your project using the Composer package manager:
Usage
To start tailing logs, run the pail command:
To increase the verbosity of the output and avoid truncation (…), use the -v option:
For maximum verbosity and to display exception stack traces, use the -vv option:
To stop tailing logs, press Ctrl+C at any time.
Filtering Logs
--filter
You may use the --filter option to filter logs by their type, file, message, and stack trace content:
--message
To filter logs by only their message, you may use the --message option:
--level
The --level option may be used to filter logs by their log level:
--user
To only display logs that were written while a given user was authenticated, you may provide the user's ID to the --user option: