入門套件
簡介
為了讓你在撰寫 Laravel 專案時有個好的開始,我們很高興能為你介紹「登入入門套件」與「專案入門套件」。這些套件包含了讓使用者註冊或登入的路由、Controller、與 View,會幫你自動進行 Scaffold。
雖然我們歡迎你使用這些入門套件,不過這些套件並不是必要的。你可以從全新的 Laravel 安裝開始製作自己的專案。無論如何,我們都知道你會做出很棒的東西!
Laravel Breeze
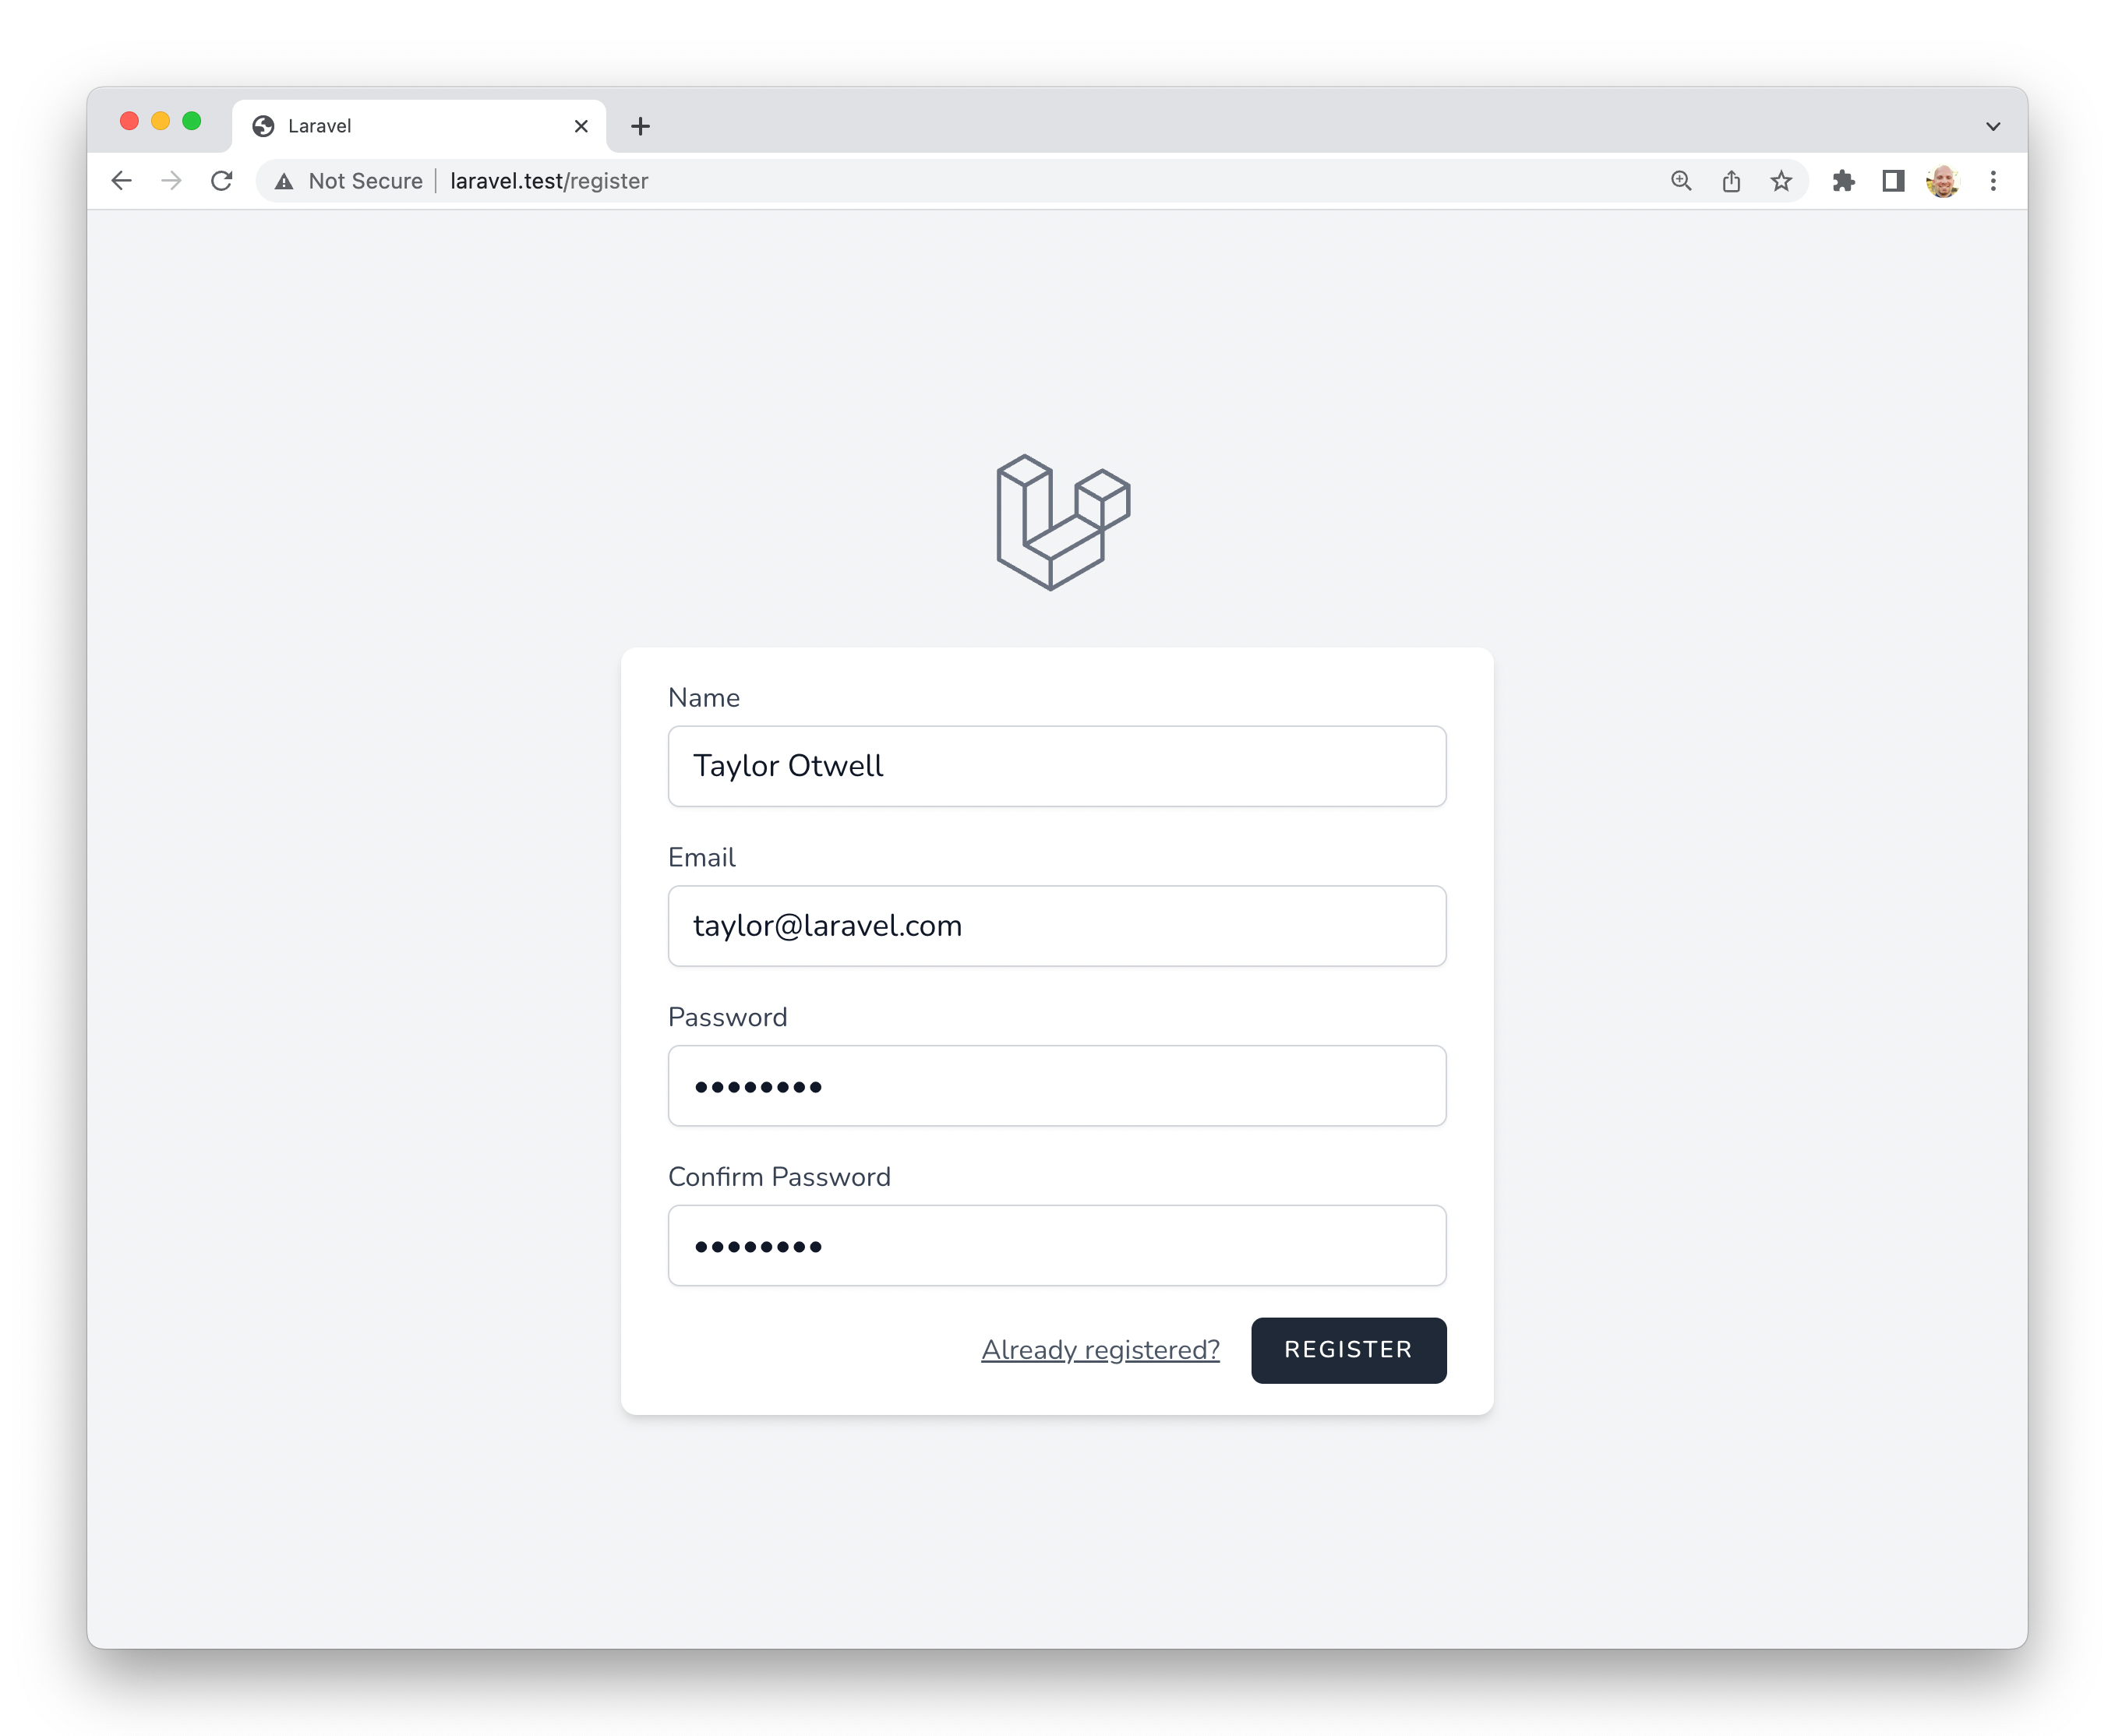
Laravel Breeze 是一個簡單且最小化實作出所有 Laravel 認證功能的套件,包含登入、註冊、密碼重設、電子郵件認證、以及密碼確認。此外,Breeze 中也包含了一個簡單的「個人檔案」頁面,在該頁面中,使用者可以更新其名稱、E-Mail 位址、以及密碼。
Laravel Breeze's default view layer is made up of simple Blade templates styled with Tailwind CSS. Additionally, Breeze provides scaffolding options based on Livewire or Inertia, with the choice of using Vue or React for the Inertia-based scaffolding.
 #### Laravel Bootcamp
如果你第一次接觸 Laravel,歡迎參考 Laravel Bootcamp (英語)。Laravel Bootcamp 會帶領你使用 Breeze 來建立你的第一個 Laravel 專案。Laravel Bootcamp 是學習各種有關 Laravel 與 Breeze 相關技術的好地方。
安裝
First, you should create a new Laravel application. If you create your application using the Laravel installer, you will be prompted to install Laravel Breeze during the installation process. Otherwise, you will need to follow the manual installation instructions below.
If you have already created a new Laravel application without a starter kit, you may manually install Laravel Breeze using Composer:
After Composer has installed the Laravel Breeze package, you should run the breeze:install Artisan command. This command publishes the authentication views, routes, controllers, and other resources to your application. Laravel Breeze publishes all of its code to your application so that you have full control and visibility over its features and implementation.
The breeze:install command will prompt you for your preferred frontend stack and testing framework:
Breeze and Blade
The default Breeze "stack" is the Blade stack, which utilizes simple Blade templates to render your application's frontend. The Blade stack may be installed by invoking the breeze:install command with no other additional arguments and selecting the Blade frontend stack. After Breeze's scaffolding is installed, you should also compile your application's frontend assets:
接著,在瀏覽器中打開網站的 /login 或 /register 網址。Breeze 中所有的路由都定義在 routes/auth.php 中。
要瞭解更多有關如何編譯網站的 CSS 與 JavaScript 的資訊,請參考 Laravel 的 Vite 說明文件。
Breeze and Livewire
Laravel Breeze also offers Livewire scaffolding. Livewire is a powerful way of building dynamic, reactive, front-end UIs using just PHP.
Livewire is a great fit for teams that primarily use Blade templates and are looking for a simpler alternative to JavaScript-driven SPA frameworks like Vue and React.
To use the Livewire stack, you may select the Livewire frontend stack when executing the breeze:install Artisan command. After Breeze's scaffolding is installed, you should run your database migrations:
Breeze and React / Vue
Laravel Breeze 也提供了使用 Inertia 前端實作的 React 與 Vue Scaffolding。使用 Inertia,我們就能使用傳統的 Server-Side Routing 與 Controller 來製作現代、單一頁面的 React 或 Vue 網站。
Inertia lets you enjoy the frontend power of React and Vue combined with the incredible backend productivity of Laravel and lightning-fast Vite compilation. To use an Inertia stack, you may select the Vue or React frontend stacks when executing the breeze:install Artisan command.
When selecting the Vue or React frontend stack, the Breeze installer will also prompt you to determine if you would like Inertia SSR or TypeScript support. After Breeze's scaffolding is installed, you should also compile your application's frontend assets:
接著,在瀏覽器中打開網站的 /login 或 /register 網址。Breeze 中所有的路由都定義在 routes/auth.php 中。
Breeze and Next.js / API
Laravel Breeze can also scaffold an authentication API that is ready to authenticate modern JavaScript applications such as those powered by Next, Nuxt, and others. To get started, select the API stack as your desired stack when executing the breeze:install Artisan command:
在安裝過程中,Breeze 會在專案的 .env 檔中新增一個 FRONTEND_URL 環境變數。這個 URL 應為 JavaScript App 的 URL。在開發時,通常為 http://localhost:3000。此外,也應確認一下 APP_URL 是否為 http://localhost:8000,該網址就是 serve Artisan 指令的預設 URL。
Next.js 參考實作
最後,我們已經準備好可以將這個後端與你的前端組合起來了。我們在 GitHub 上提供了一個作為 Breeze 前端的 Next 參考實作。這個前端是由 Laravel 維護的,其中包含了與 Breeze 提供的傳統 Blade 與 Inertia Stack 中相同的使用者界面。
Laravel Jetstream
雖然 Laravel Breeze 提供了一個簡單起始點能讓你開始製作 Laravel 專案,但 Jetstream 提供了更多的功能,其中包含了強健的功能與額外的前端技術 Stack。對於剛開始使用 Laravel 的新手,我們建議先了解一下 Laravel Breeze 的使用方式,再來學習 Laravel Jetstream。
Jetstream provides a beautifully designed application scaffolding for Laravel and includes login, registration, email verification, two-factor authentication, session management, API support via Laravel Sanctum, and optional team management. Jetstream is designed using Tailwind CSS and offers your choice of Livewire or Inertia driven frontend scaffolding.
Complete documentation for installing Laravel Jetstream can be found within the official Jetstream documentation.